Sign up for Lesson Plans, discounts & more!
Geology Club Meeting #3 Rocks
These are the notes from Kathy’s geology club meeting 3, Rocks.
- Send students to restroom as enter and drop off books. As students are eating their snack, ask for students to share anything special that they brought.
- Begin actual meeting by asking if students did the “Home Activity – Minerals Bag”. Have them open journal to the activity page so they can share their entries if they have them. You may wish to go through the answers for them.
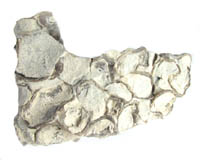
- Ask for any students added anything new to their collection. May wish to take a quick look at what it is. Most likely they brought in granite or limestone (two rocks very common to this area).
- Do NOT collect journals to add new pages. We will have students do this at the end of the meeting.
- Review…
- Minerals vs. rocks (a rock is a combination of one or more minerals)
- Use of minerals
- How we identify minerals….tie this into identifying rocks (activity today)
- Pass out the worksheet titled “Identification of Rocks Flowchart”. Describe how to use the flowchart with the students. Mention that not all rocks are on here but this contains those common to this area of the world plus others they might have seen before.
- Give each student a piece of coal without naming it (this will eventually be theirs to keep). Ask them to look at it and feel it. Using the flowchart, go through the identification of coal AS A CLASS. Have the students place the coal in their collection box under the next available number (some students may have other rocks in there now as they continued their collection at home). Have the students then go into their journal and record “coal” under the rock collection pages and completely fill out the entry here. Be sure to mention use for coal (in present times Cinergy burns coal to produce electricity…used it in past to heat homes).
- Give the students a piece of granite but this time have them do the identification on their own (students may keep the granite). Remind students to record granite in their journal. If they already have a piece of granite in their box from home, then put the new piece in with the others.
- Give the students a piece of limestone and do the same (students may keep).
- Give the students a piece of marble and do the same (students may keep).
- Give the students a piece of lava (colored) and do the same (students may keep).
- Begin a discussion with students about common uses for rocks if have not already done this in the previous steps.
- If time permits, give each student another sample from the rock kits that belong to the school. STUDENTS MAY NOT KEEP THESE SAMPLES. Have them identify the rock and return it. Samples that are on the identification page include conglomerate, sandstone, gneiss, and slate.
- Dismiss for parent pick-up.
- Assist kids in getting to rest room and back. Prompt kids to eat snack and get out journal and pencil (I will try to provide these this meeting!).
- After kids finish snack, remind them to clean up their space. Snack should be out of the way by 3:15 PM (meeting needs to start by 3:20 PM the latest).
- During the meeting we will need lots of help passing out materials.
- During the rock identification activity, students may need guidance with the identification flowchart. Kelly or I will try to show this to you just before the meeting starts but just in case we don’t have time, we will go through the identification of coal as a whole class activity so follow along with your daughter and her materials to quickly learn the process. It is pretty straight-forward.
- When meeting ends, we will need some help getting girls/boys to their pick-up location but you can leave once we get them to this location and I will wait with the kids there.
Back to Start A Geology Club-Geology Activities
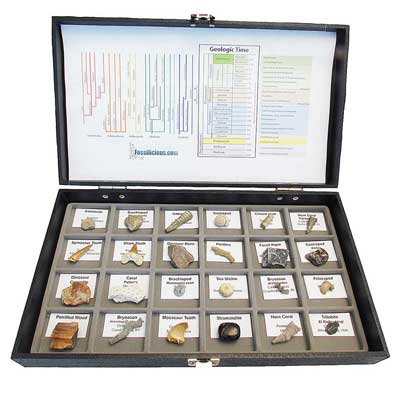
Check out some of the Educational Materials for sale on our sister site fossilicious.com.

interested in more? If so, you may want to check out our other sites:
fossilicious.com - Our online fossil and mineral rock shop.
rocksandminerals4u.com - An educational site about rocks, minerals, and geology.
 |
 |
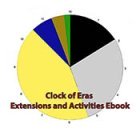 |
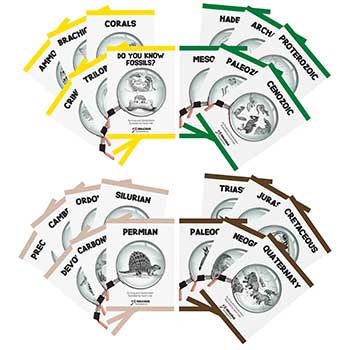
Geologic Time Geologic Time Line
Cenozoic Era
Quaternary
Neogene
Paleogene
Mesozoic Era
Cretaceous
Jurassic
Triassic
Paleozoic Era
Permian
Carboniferous
Devonian
Silurian
Ordovician
Cambrian
Archean Time
Hadean Time
Teachers Resources
Activities for Education and Fun
Earth Science Lesson Plans
Activities For Kids
Fossil Lesson Plans
Fossil Activities
Education Articles
Coloring Pages
Dinosaur Coloring Pages
Montessori Materials
Geology Club
Fossil Hunting
 |
 |
 |