Sign up for Lesson Plans, discounts & more!
Geology Club Meeting 4
Rocks Part 2
Note: These are the notes from Kathy’s geology club meeting 4, the second meeting on rocks.

- Have students use restroom while others are eating snack. Students who brought items to share should also do so at this time. Try to have snack cleaned up and meeting started by 3:20 PM.
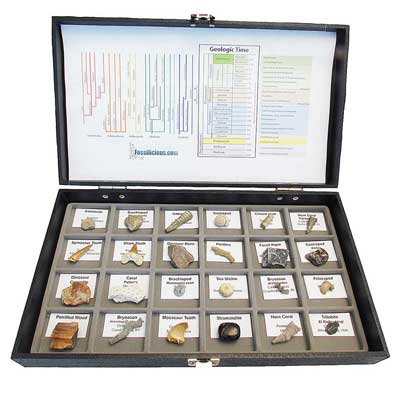
- Each student needs to label the actual rocks in their collection box. To do this they will put one drop of White-Out on each rock/mineral sample unless the sample is light colored and then they can write directly on the sample. Once the White-Out dries, they will label it with the number that corresponds to the bin number that the sample is placed in. It might be easiest to have one bottle of White-Out per adult/student helper. Have the helpers put a thin layer of White-Out on the samples and have the students blow on them until dry. A permanent marker or pen can then be used to put the bin number on the dried White-Out. Students with polished purchased samples from home may not wish to mar them with White-out which is perfectly fine.
- Ask students to get out their mystery samples sent home last meeting. If they have not yet identified them they can do so while they are waiting for #2 above to get done. If they have identified them, have them check their answers with those in their group. As a class, go through the answers and fill out the identification sheets in their journal and assign these rocks a bin number (note that some may be repeats already in collection so put them into the same bin as the other sample). The samples sent home were two pieces of slate (two different colors), marble, granite, and red lava. They will only need to fill out the log sheet for slate since the others are duplicates.
Name of rock: Slate
Type: Metamorphic
Color: black, grey, green, purple
Hardness: <5
Where found: Durable Slate Company, Cincinnati, OH
Date added: Feb. 2, 2006
Notes: used in roofing shingles
- Distribute the worksheet for common uses of rocks and minerals. Although the students may have done this in the Fall through the home activities, it has been awhile and good review as we finish off this topic (besides, many kids didn’t do the home activities). Have students pull the 12 samples from their collection as marked at the top of the worksheet. They then have to place them in the appropriate boxes. Check answers by showing samples of the rock to whole class and checking their matching.
- Some students have studied rocks already in class. Go over briefly the three types of rocks. Discuss the differences in how these rocks from. Point out physical differences such as:
- Metamorphic tend to be stronger than other rocks (not always noticeable)
- Sedimentary tend to be weaker than other rocks (not always noticeable)
- Igneous rocks tend to have crystals in them
- Have students sort rocks by rock type and look for differences between the three groups. As a quick check for the helpers:
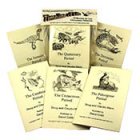
Point out that Limestone metamorphizes into marble (note that they both react with HCL….have students try this again) Shale (crumbly muddy stuff on bottom of creekbeds) metamorphizes into slate… notice the layering in the slate but also notice how strong slate is. Point out different colors between same rock and what causes these differences (i.e. lava comes in different colors due to composition of magma that forms it)MetamorphicSedimentaryIgneousSlateLimestoneGraniteMarbleCoalLava - Send home with students the fossil pamphlet from Hueston Woods. Ask that they begin reading it as preparation for the remaining meetings which will focus on fossils.
- Need each to go around with White-Out and put a small thin drop/layer on each sample in student collection box. If a student has a polished sample from a store, he/she may not wish it to be “ruined” with the White-Out so skip these.
- Go back around and put the bin number on each dried white spot.
- Monitor students as they try to identify or check answers with others for the mystery bag of rocks sent home at the last meeting.
- Pass out worksheet and monitor during this rock/mineral use activity.
- Pass out fossil pamphlet at end of meeting.
Check out some of the Educational Materials for sale on our sister site fossilicious.com.

interested in more? If so, you may want to check out our other sites:
fossilicious.com - Our online fossil and mineral rock shop.
rocksandminerals4u.com - An educational site about rocks, minerals, and geology.
 |
 |
 |
Geologic Time Geologic Time Line
Cenozoic Era
Quaternary
Neogene
Paleogene
Mesozoic Era
Cretaceous
Jurassic
Triassic
Paleozoic Era
Permian
Carboniferous
Devonian
Silurian
Ordovician
Cambrian
Archean Time
Hadean Time
Teachers Resources
Activities for Education and Fun
Earth Science Lesson Plans
Activities For Kids
Fossil Lesson Plans
Fossil Activities
Education Articles
Coloring Pages
Dinosaur Coloring Pages
Montessori Materials
Geology Club
Fossil Hunting
 |
 |
 |