Sign up for Lesson Plans, discounts & more!
A Volcano Model with Pizzazz
Volcano Model For School Demonstrations
In the grand scheme of
earth building, it was, and is, the volcano that most dramatically
added solid ground to our planet. When telling the Clock of Eras story
or the story of the “Big Bang”, many teachers use a model to demonstrate
the way cinder cones formed as the molten lava burst through the
surface cracks.
Through the years, I have seen instructions and demonstrations with a volcano model using vinegar and baking soda to demonstrate the lava that spills out and over the top of the crater. Red food color added to either substance will help give the impression of “red-hot” lava coming from the top of the cinder cone. This does give the visual impression of lava flow, but fails to resemble a volcano in any other way.
I would propose another volcano model that will show in a more realistic way, the land-forming qualities of the volcano. Because this model calls for some noxious chemicals, it is best performed outside or in a large, well-ventilated room.
Preparing the volcano model
- Use a 4” to 6” tall tin can for the foundation of your volcano. Place it open end down.
- Stack a small tin can on top with the open end facing up. (A small green chili can works well.)
- Use aluminum foil to build out the shape of the volcano cone around the two cans.
- Finally, roll out brown plasticene until it is uniformly thick and lay it over the aluminum foil cone. Mold it into a cone shape to create the volcano with the plasticene covering the sides of the top can. This can will be the crater on the top of the volcano.
- Fill the crater with a combination of sulphur and ammonium dichromate. (Sulphur is a yellow, powdery solid. Ammonium dichromate is orange and granular.) Mix the two so the sulphur is spread throughout the dichromium sulfate. Your volcano model is ready to erupt.
Tell the story:
Light the volcano:
You can light the chemicals in the volcano model crater a little before your story ends…in fact, you could light it as you are beginning to tell the story. It usually takes a little while for the chemicals to ignite and begin to “explode,” so lighting it before you tell the story will often time the explosions just right. The chemicals will slowly heat up and begin to burn. As they do, the sulphur will give off its characteristic odor and the ammonium dichromate will turn into a powdery ash that will explode over the side of the crater, literally mimicking the land building process. The plasticene will melt slightly and ooze down the side of the volcano. In my classes, once the explosion has finished, we talk about how this volcano model resembles the chemical and land-building characteristics of a real volcano.
Sometimes I
have been lucky enough to have a large gymnasium or auditorium in which
to do this demonstration. It is essential to have good ventilation as
these chemicals burn, but it is spectacular to have this demonstration
in a darkened room. When the chemicals begin to ignite, they literally
explode sending sparks into the air around the volcano model. It is a
good idea to try this (as any demonstration) before you do it in front
of your students. This way you will know what to expect and have an idea
of the time between the “lighting” and the actual explosive effects.
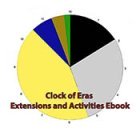
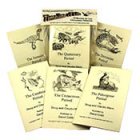
Stories to go with your volcano model
Check out some of the Educational Materials for sale on our sister site fossilicious.com.

interested in more? If so, you may want to check out our other sites:
fossilicious.com - Our online fossil and mineral rock shop.
rocksandminerals4u.com - An educational site about rocks, minerals, and geology.
 |
 |
 |
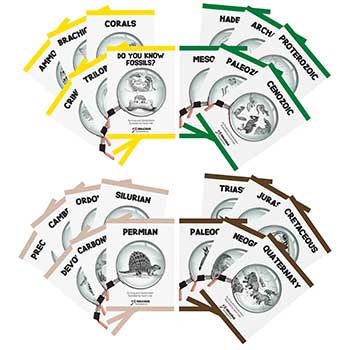
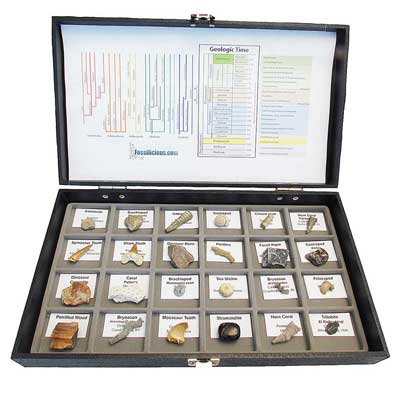
Geologic Time Geologic Time Line
Cenozoic Era
Quaternary
Neogene
Paleogene
Mesozoic Era
Cretaceous
Jurassic
Triassic
Paleozoic Era
Permian
Carboniferous
Devonian
Silurian
Ordovician
Cambrian
Archean Time
Hadean Time
Teachers Resources
Activities for Education and Fun
Earth Science Lesson Plans
Activities For Kids
Fossil Lesson Plans
Fossil Activities
Education Articles
Coloring Pages
Dinosaur Coloring Pages
Montessori Materials
Geology Club
Fossil Hunting
 |
 |
 |